Replacing aging socket accessories boils down to a three-step process: cutting off power, proper wiring, and safety testing. With proper preparation, an average person can complete the replacement within 10 minutes - saving on electrician fees while ensuring household electrical safety.
⚠️ Essential Pre-Replacement Step: Safety First - Cut the Power!
• Turn off the Main Power Switch: You *must* switch off the corresponding circuit breaker in your home's distribution box. To prevent any accidents, it is highly recommended to simply switch off the main power supply switch for the entire home.
• Verify Power is Off: Use a voltage tester pen to touch the wiring terminals inside the outlet to confirm that the live wire (L) is no longer energized. If the tester pen lights up, it indicates that current is still flowing; you must troubleshoot the issue and do not proceed with the replacement.
🔧 Detailed Replacement Steps (Using a Common 5-Hole Outlet as an Example)
1. Remove the Old Outlet
• Use a flathead or Phillips screwdriver to remove the mounting screws securing the outlet faceplate.
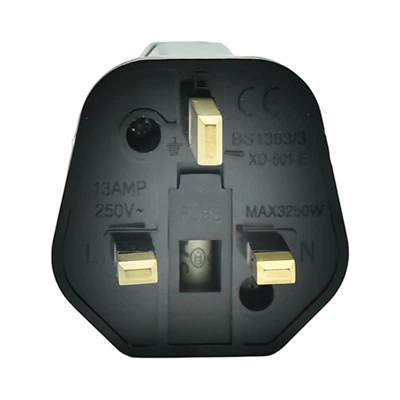
• Gently pull out the outlet body to expose the three wires connected behind it: L (Live/Hot wire - usually red or brown), N (Neutral wire - blue), and E (Ground wire - yellow-green).
• Use a screwdriver to loosen the terminal screws and detach the wires one by one. It is recommended to place a temporary label on each wire to avoid mixing them up later.
📌 Tip: If the faceplate is difficult to pry open, you can use a small utility knife to lightly score the paint film along the edges before carefully prying it up with a screwdriver.
2. Prepare the New Outlet
• Select a qualified product that meets new national standards, features safety shutters (protective gates), and holds CCC certification. It is recommended to choose outlets made from PC flame-retardant material, as they offer superior heat resistance.
• Check the wiring labels on the back of the new outlet - L (Live), N (Neutral), E (Ground) - to ensure they correspond correctly with your existing wires.
3. Wire the New Outlet Correctly
• Strip approximately 1 cm of insulation from the end of each wire (using a wire stripper is safer) and insert the exposed wire ends into the corresponding terminals.
• Tighten the screws firmly to ensure the wires are secure and not loose. After wiring, give each wire a gentle tug to test the connection and prevent poor contact (a "loose connection"). Recommended Connection Order: Connect the ground wire (E) first, followed by the neutral wire (N), and finally the live wire (L) to minimize the risk of accidental contact.
⚠️ Strict Prohibition: Do *not* reverse the "Neutral on the Left, Live on the Right" wiring configuration; doing so may cause the appliance casing to become live, leading to electric shock hazards.
4. Installation and Mounting
• Gently push the wired socket into the back box; once leveled, secure it in place using screws arranged symmetrically.
• Attach the faceplate, ensuring there are no gaps and that it fits securely without wobbling.
5. Power-On Testing
• First, switch on the main power supply; then, use a voltage tester or a small appliance (such as a desk lamp) to verify that the socket is receiving power correctly.
• If you observe a tripped circuit breaker, sparking, or a lack of power, immediately cut the power supply and inspect the wiring to ensure it is connected correctly.