The core principles of installing electrical outlets are proper wiring, secure mounting, and ensuring electrical safety. The entire process must be conducted in a power-off environment, following the sequence: "Clean the back box → Prepare the wires → Wire correctly → Mount the faceplate." Pay particular attention to the correct connection of the live, neutral, and ground wires to avoid safety hazards.
✅ Pre-Installation Preparation
1. Power Disconnection
You must switch off the home's main power supply and use a voltage tester to confirm that the circuit is de-energized before beginning work; this is the absolute prerequisite for safe operation.
2. Tools and Materials Check
Tools: Wire strippers, screwdriver, spirit level, insulated gloves, electric drill (if drilling holes is required).
Materials: Certified switches and outlets (with CCC certification), "Type 86" back boxes, plastic mounting plates (for surface mounting), etc.
3. Worksite Condition Verification
Wall finishing (such as painting or wallpapering) must be complete, conduit installation must be in place, and the insulation integrity of the wires must have passed inspection.
🔧 Detailed Installation Steps
1. Clean the Back Box
Back boxes that have been left in place for some time tend to accumulate dust. Before installation, use a damp cloth to thoroughly remove any internal dust and debris to prevent impurities from affecting circuit performance or causing poor electrical contact.
2. Prepare the Wires
Leave a service loop of approximately 15 cm to allow for future maintenance or replacement without difficulty.
Use wire strippers to strip about 10 mm of insulation from the wire ends. Be extremely careful not to damage the copper core; using professional tools is recommended to prevent the wires from breaking.
3. Proper Wiring (Crucial!)
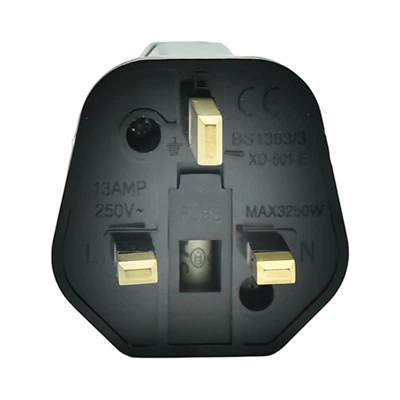
Connect the wires according to the principle: "Neutral on the Left, Live on the Right, Ground on Top."
L Terminal → Connect to the Live wire (typically Red, Yellow, or Green).
N Terminal → Connect to the Neutral wire (Blue).
E Terminal → Connect to the Ground wire (Bi-color Yellow/Green).
⚠️ Special Warning: If the neutral and ground wires are reversed, the metal casing of connected appliances may become energized, potentially leading to electric shock or tripping the circuit breaker.
4. Securing the Socket Faceplate
Gently push the wired socket assembly into the wall box. Once leveled, tighten the mounting screws symmetrically to ensure the faceplate sits squarely and flush against the wall, leaving no gaps.
Use a spirit level to calibrate the alignment; keeping the deviation within 5mm ensures both aesthetic appeal and practical functionality.
Finally, simply snap on the decorative cover plate.
📌 Installation Guidelines
• Standard Height References:
Standard Sockets: 0.3 meters above the floor
Light Switches: 1.2–1.4 meters above the floor
Range Hoods / Air Conditioners: 1.8–2 meters above the floor
Washing Machines: 1.2–1.5 meters above the floor
• Protection for Special Areas:
In damp environments such as bathrooms and balconies, select splash-proof sockets and install a protective waterproof cover box.
For sockets within a child's reach, it is recommended to choose models equipped with safety shutters (protective gates).
• Aesthetic and Practical Tips:
Leave a 2cm gap between adjacent multi-gang faceplates to facilitate future removal or installation while maintaining a neat, organized appearance.
For high-power appliances - such as air conditioners and water heaters - sockets may be installed in an inverted orientation to prevent the plug from sagging or becoming loose due to gravity.